

Here’s what outdoor sleeping setup I use and its temperature range.
Introduction to Sleeping Setup
Over the years, I spent countless nights outdoors in various climes and times of the year. Be it in tropical rain forest in Thailand, the driest desert on earth at 4’000 meters above sea level, or winter camping in Switzerland, I learnt many lessons. Additionally, I fine tuned my sleeping setup in order to have a modular system, which allows to cover a broad range of temperatures.

What Gear Do I Use?
Similarly to wearing outdoor clothing, a sleeping setup can be divided into a base layer, insulation and outer shell. Each category should be chosen accordingly to the expected environmental circumstances.
Outer Shell
The outer shell of a sleeping setup prevents your insulation from external factors such as rain and wind. Cover against precipitation and wind is crucial to stay warm. Do not underestimate the insulating effects from the outer shell. There are three options between I can choose:
-
Tarp (450 g)
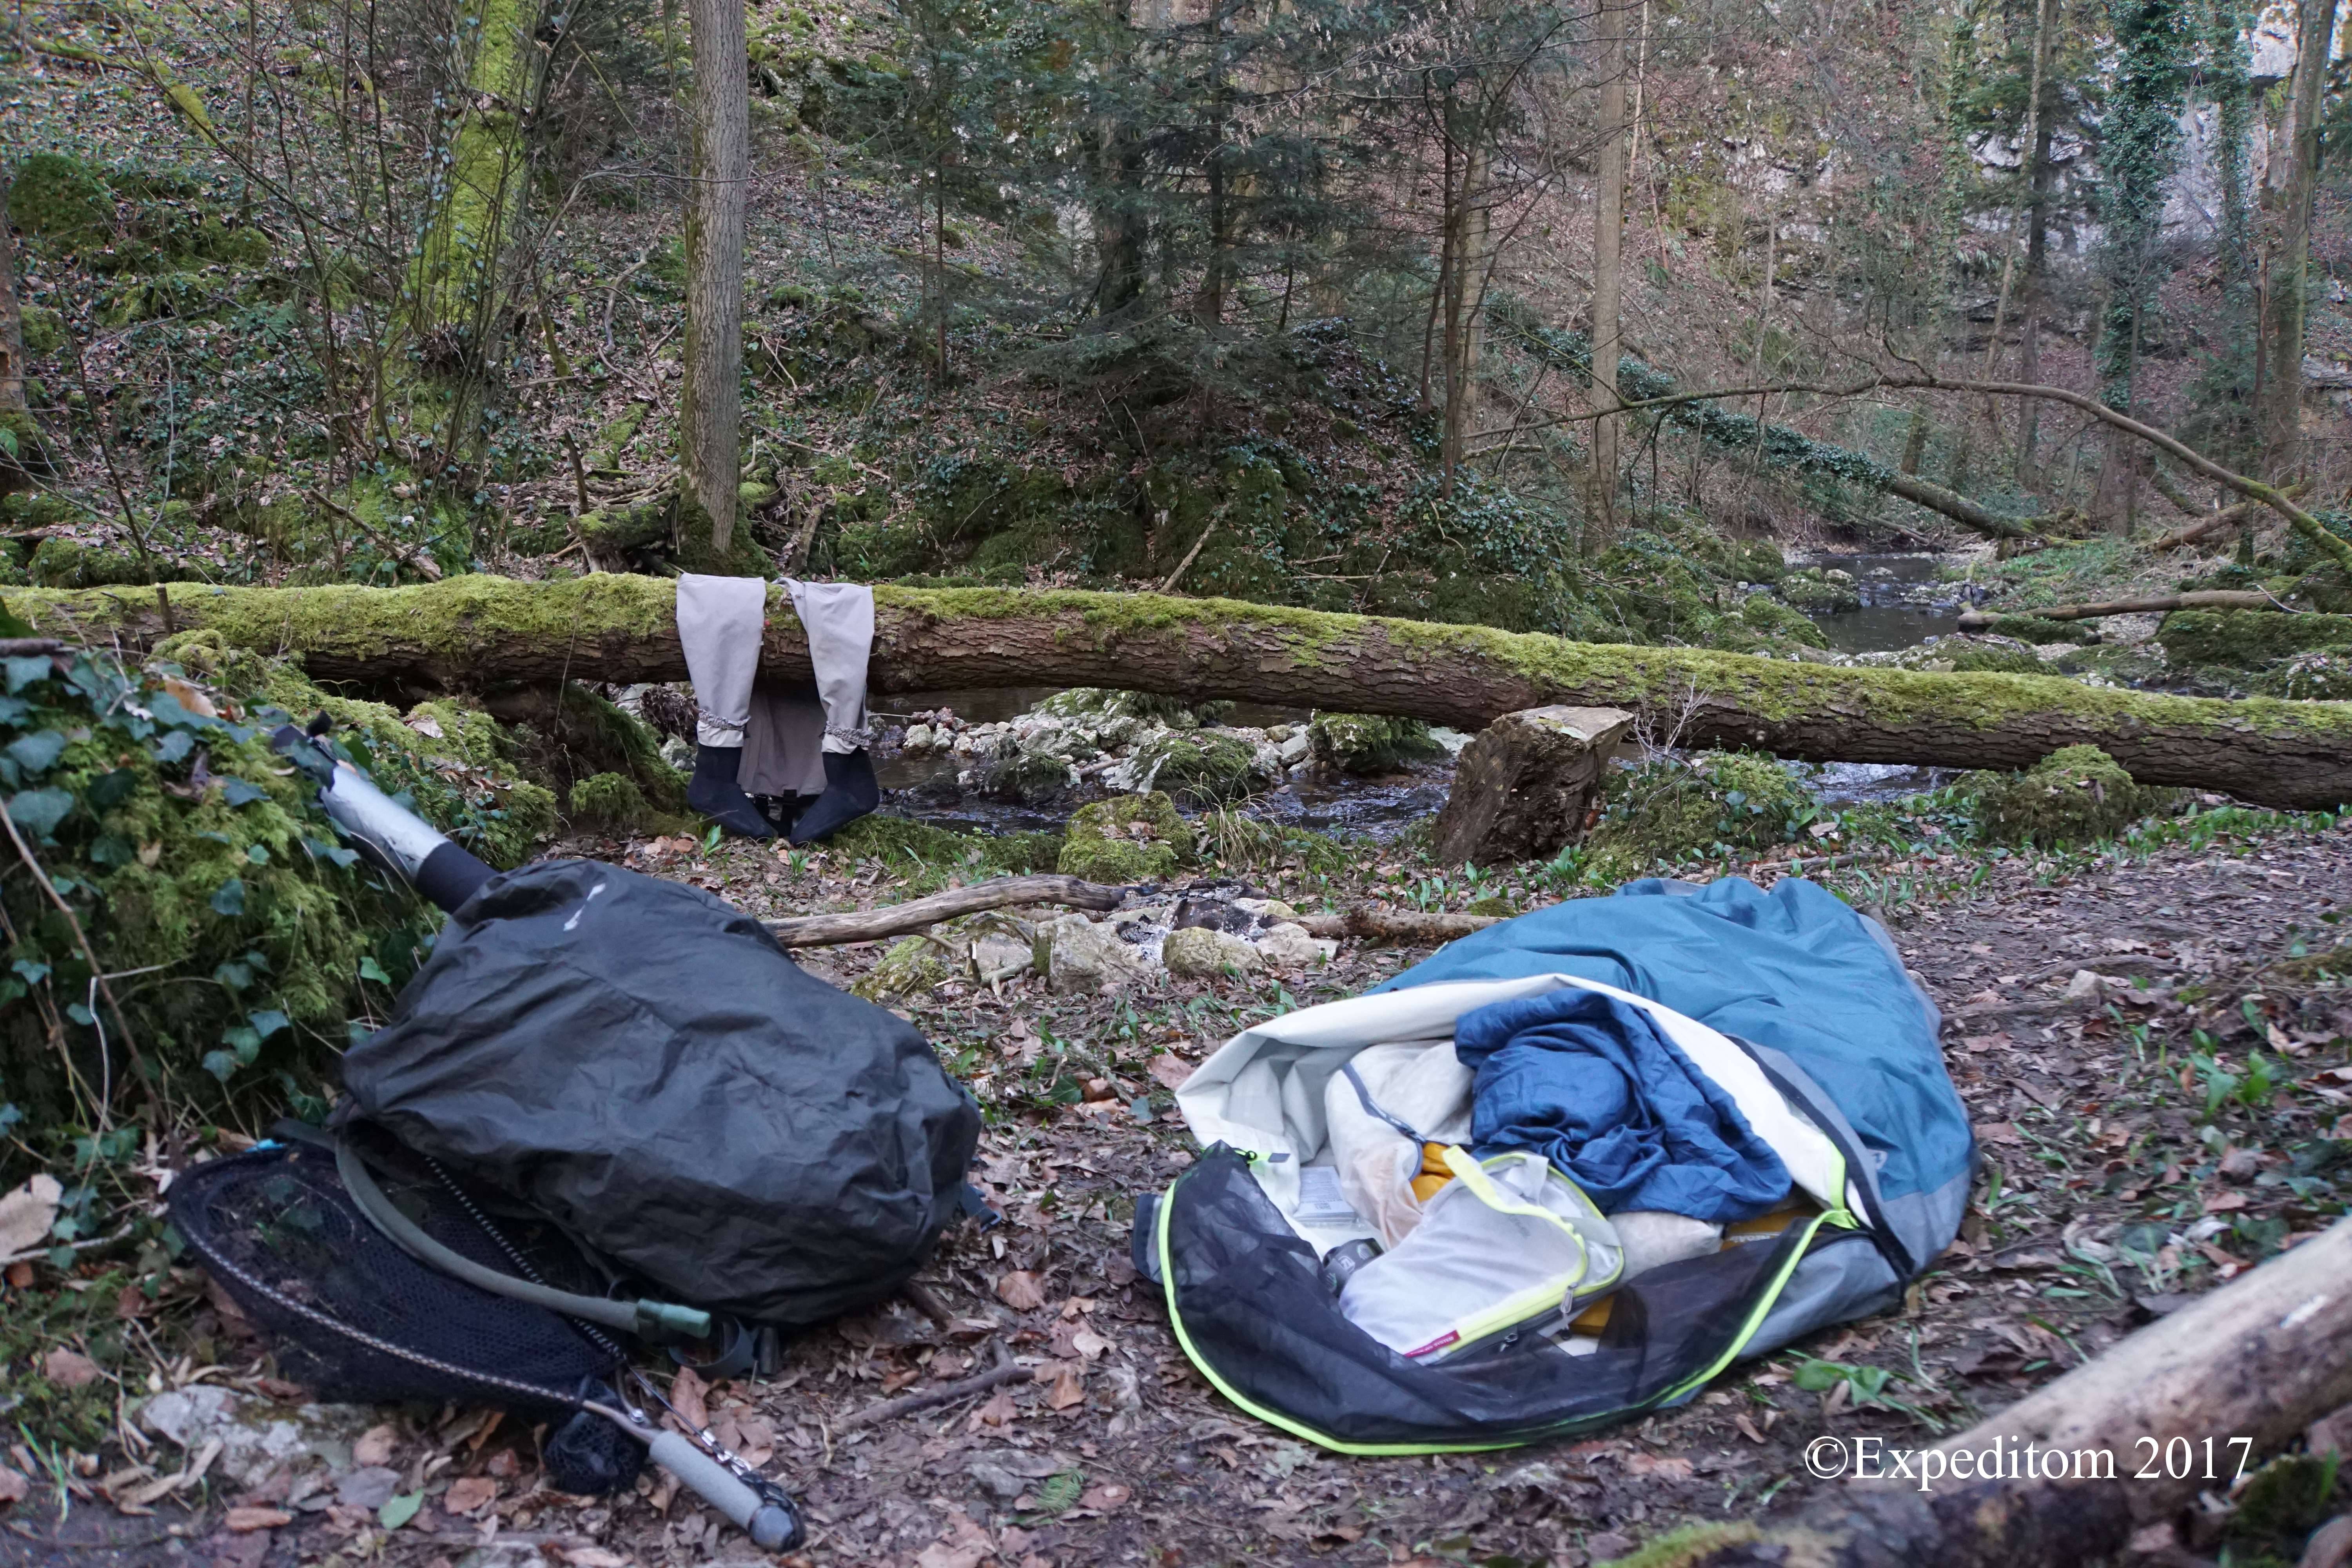
Offers lightweight shelter from rain, but is not the best choice in heavy winds. Moreover, it is not as comfortable as a tent, even though it provides more space than a bivouac sac. Insulation is very limited because wind will enter, unless you wrap it around you like a bivouac sac. I use the Nordisk Voss Diamant Tarp.

Sleeping setup during West Coast Trail hike on Vancouver Island -
Bivouac (650 g)
All-rounder for adverse weather offering wind and water protection at the cost of comfort. Space is limited and so is the possibility for movement. Furthermore, precipitation accumulating on the bivouac limits the temperature range. I use the Outdoor Research Aurora Bivy.

Outdoor Research Aurora bivouac sac -
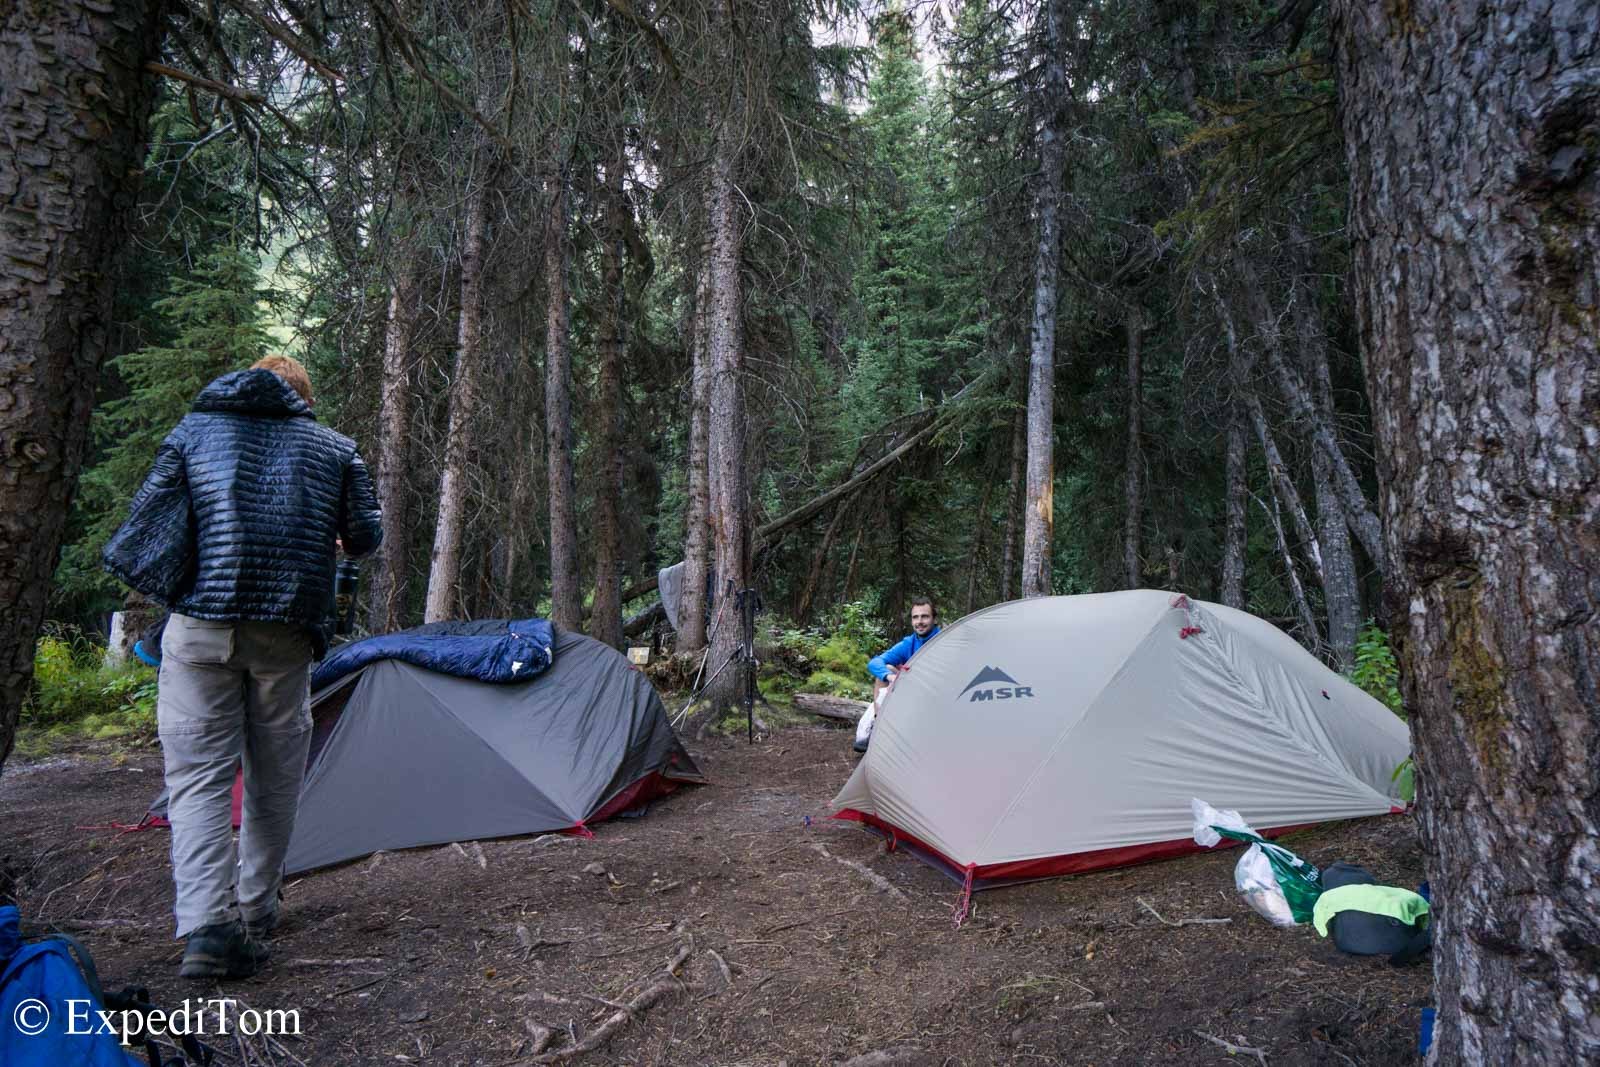
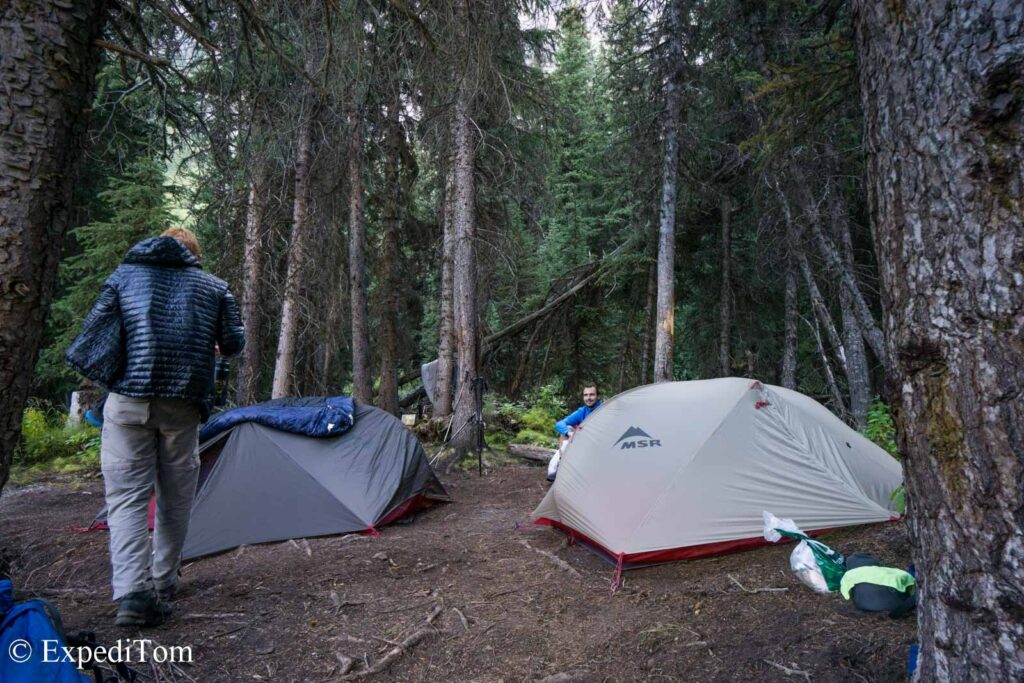
Tent (1500 g)
The most comfortable of the options, but at the same time the heaviest. Tents offer great protection against wind and rain, insulate and one has room to store gear or spend a day inside. However, tents are heavier than tarps and bivouacs. I use the MSR Freelite 2 and Hubba Hubba NX.
Sleeping setup on the Mount Assiniboine Trek Junction


Combination of outer shells
These are the outer shells for the lightweight 4-Season sleeping setup. During the West Coast Trial hike, I learned that a combination of tarp with tent proved very efficient in wet environments. It offered the possibility to let gear dry, which you would rather not take into the tent. In the near future, I will try as well to combine the tarp with the bivouac sac. This would still be lighter than the tent and allow more flexibility in terms of weather adaptation.
Insulation layer
The insulation layer is all about keeping you warm and cozy. Even though there are great artificial materials, I am a big fan of down feathers. This is due to down’s ability of repeatedly being stuffed and re-stuffed without compromising its fluffy warmth. Additionally, their warmth to weight ratio is unmatched by artificial materials. Regarding the insulation layer, there are four parts which are modular as well.
-
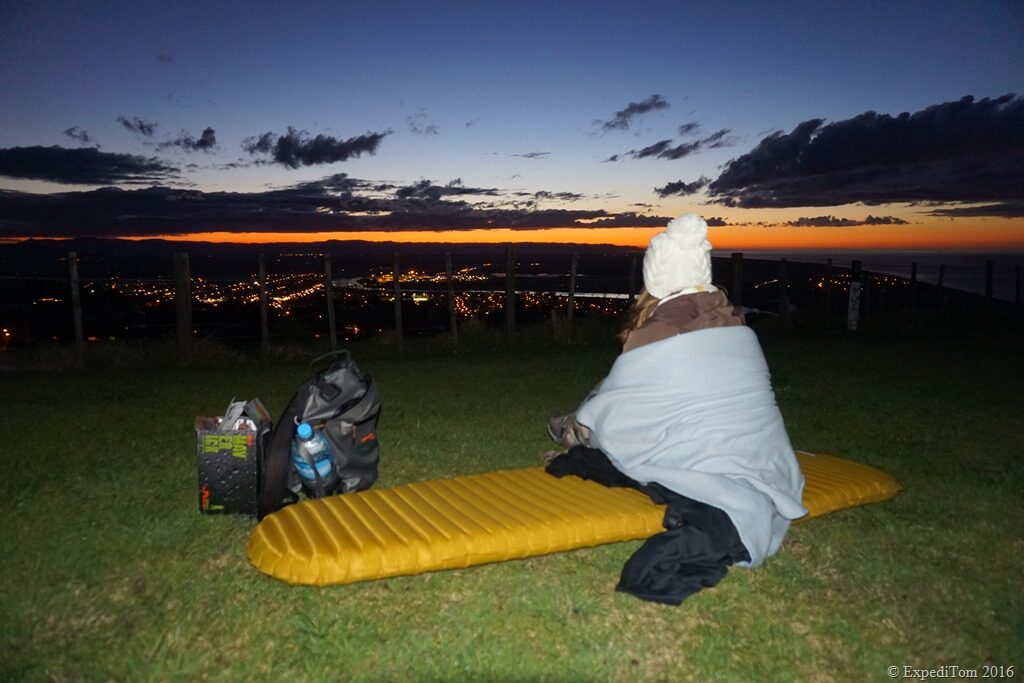
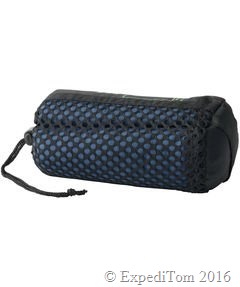
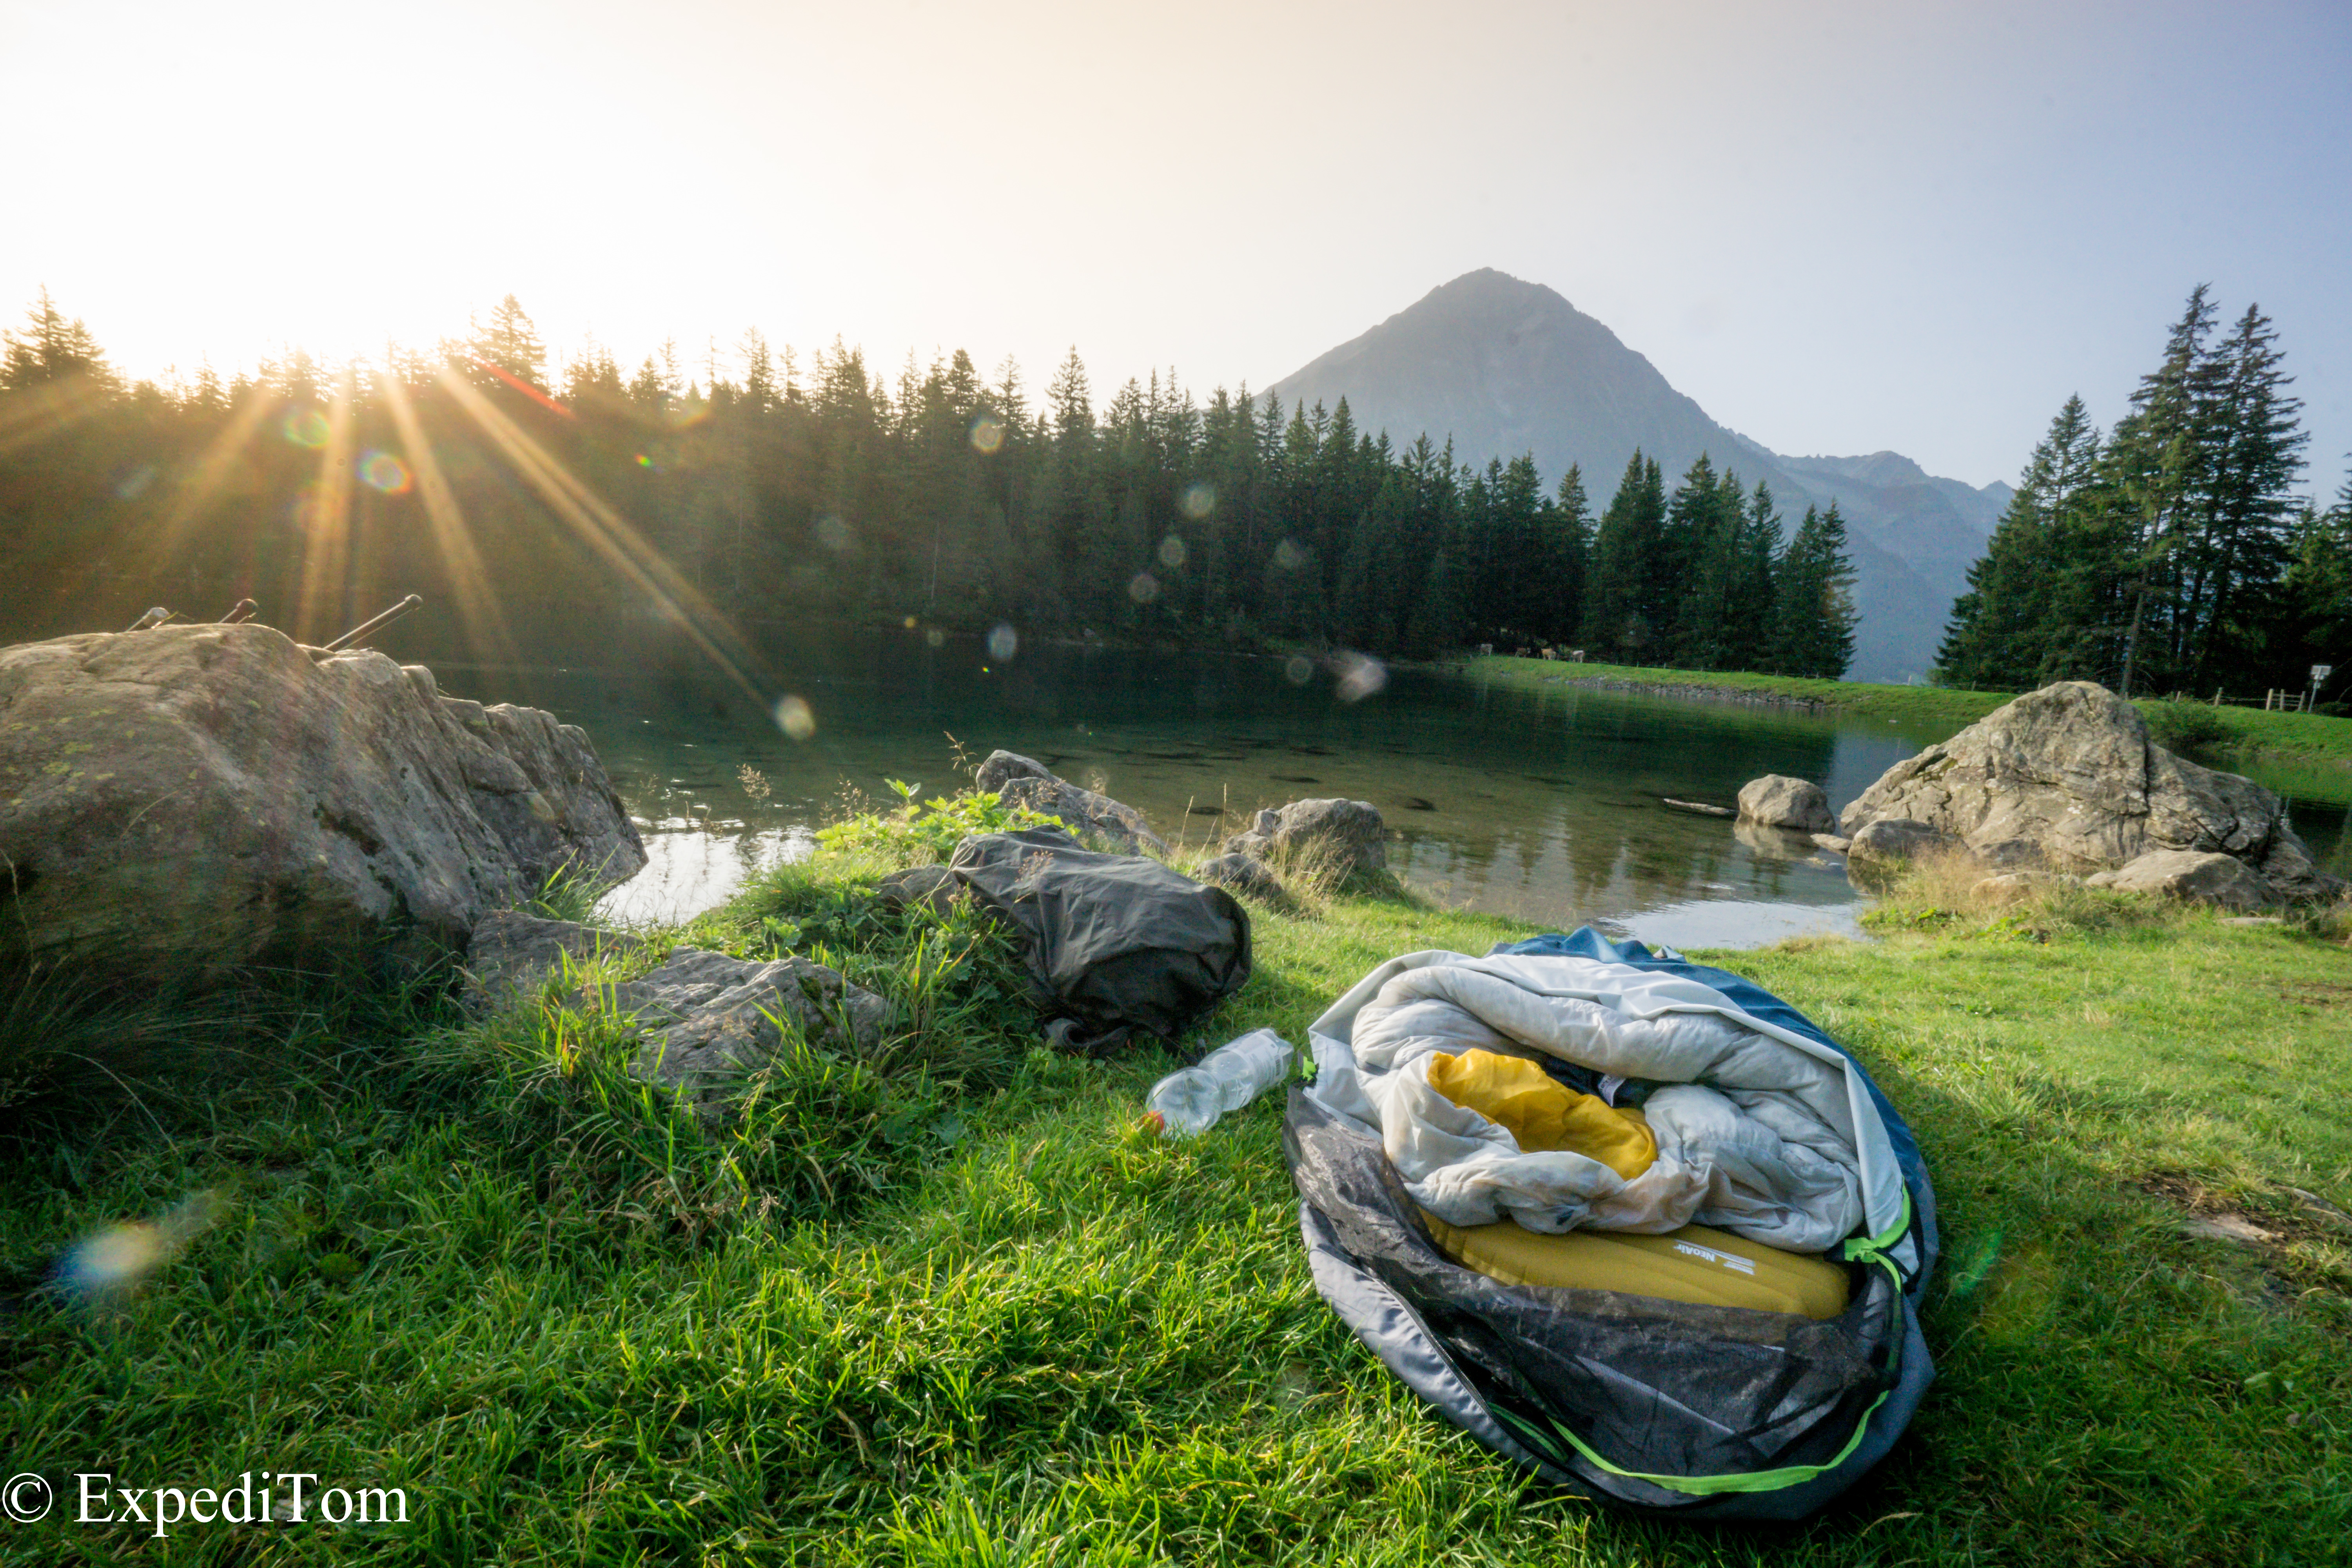
Sleeping Pad (350 g)
This item is no 1 for a reason! Sleeping pads are crucial to avoid the cold creeping in from the ground. A great sleeping bag will not avoid the this cold, because the insulation layer is compressed – unless you are feather light. I use the Thermarest Neoair Xlite, which weighs 350 grams and is the size of a 1 liter bottle.
-
Summer Sleeping Bag (490 g)
This is an ultralight summer or 3-season sleeping bag with a temperature rating of 2°C as limit and weighs a mere 470 grams. I use the SeatoSummit Spark II.

Minute packsize -
Winter Sleeping Bag ( 1000 g)
As second sleeping bag it suffices to look for a temperature rating down to -6° Celsius. Combined with the Summer sleeping bag it allows to comfortably sleep at -10° Celsius. Just make sure at the store that there is enough space to fit the former in the latter. I lent a female sleeping bag from Exped Winterlite, which did a great job.
-
Clothing
Apart from special sleeping gear, you can use your clothing such as down and rain jacket for insulation. Although, I do not recommend wearing all layers in the sleeping bag, I usually get rid of 2 and more layers and fit them in or outside the sleeping bag. Keeping clothes between your legs, makes sure they are warm in the morning.

Base layer
The base layer is directly on your skin. There are 2 options for me available and they can be used separately or together to increase warmth.
-
Inlet sleeping bag (150 g)
An inlet sleeping bag not only regulates temperature, but also prevents your sleeping bag from dirt. Hence, you can wash the inlet rather than the down feathers, which decreases their fluffiness and subsequently warmth. Furthermore, in tropical hot environments I like to use just a silk inlet because it regulates temperature well. I use the Meru Silk Inlet Sleeping Bag.
-
Clothing
Wearing long underwear, warm socks and suitable head wear, can increase the temperature range drastically. Yet, do not wear all your clothes at night, because it needs energy to warm all layers. Additionally, you will not have anything to put on in the morning.

Temperature rating of sleeping setup
Lowest expected temperature
Each of the 3 categories (outer shell, insulation, base layer) should be chosen according to the expected minimal temperature and weather of your adventure. What follows is a general gear list for specific areas of use with the expected temperature. This might differ due to personal perception of temperature.
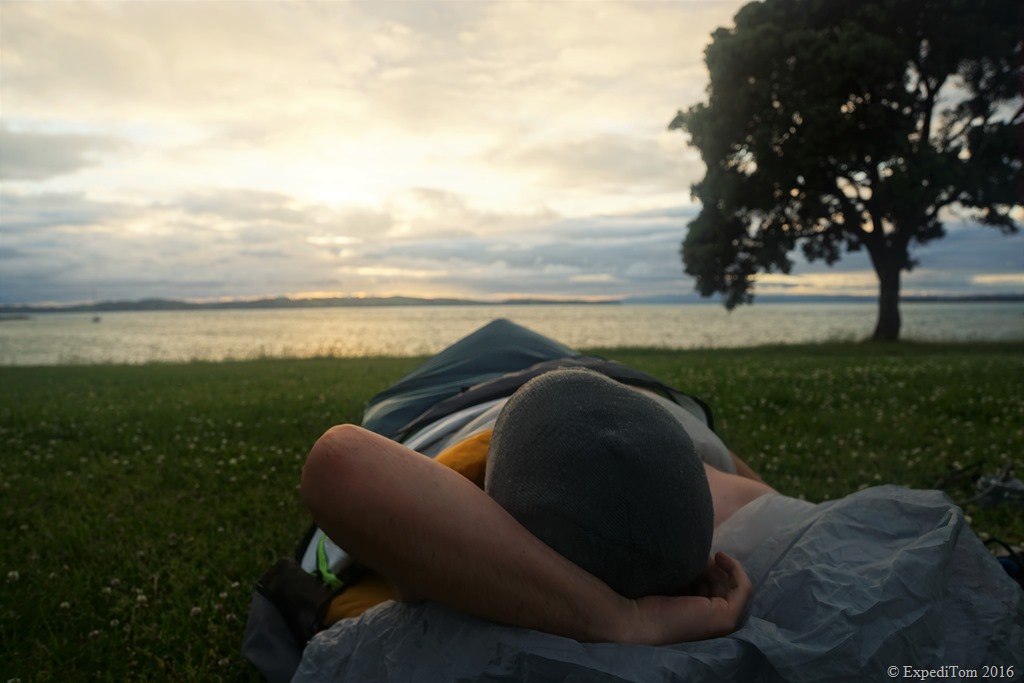
Summer (above 10°C +)
All outer shells do the job and are chosen according to space and weight limitations. Whereas on a solo mission I opt for the bivouac, as soon as I need more space to cover gear from rain, I tend to the tent. In Summer, I only use the SeatoSummit sleeping bag (lower limit 2°) or in hotter climes only the silk inlet. Once upon a time in Thailand, I even put the Thermarest sleeping pad aside and lay on the ground. It was just too hot and the insulating pad did not help to cool down!
Spring and Fall (between 0-10°C)
Spring and Fall pose some problems as transition periods which are notoriously unstable. Generally speaking, I carry either the summer or winter sleeping bag depending on the forecast. Furthermore, I rather increase the amount of clothes than carrying 2 sleeping bags. Regarding the outer shell, I prefer the bivouac unless I team up to use a tent.
Winter (below 0°C)
Admittingly, I am not an expert at winter camping, but from my experience I learnt to live with the following setup. On my recent Geminid meteor shower adventure, I used the bivouac sac, both sleeping bags, the sleeping pad and all base layers. I slept well. However, I would add a second foam pad and rather use the tent for increased insulation. Furthermore, proper down booties could avoid icy toes while standing in the snow.

Summary lightweight 4 season sleeping setup by ExpediTom
The entire 4 season sleeping setup comes in at about 2’540 grams without clothing.* This is incredibly lightweight in consideration of being able to sleep in subzero temperatures. Needless to say, comfort is secondary when reducing weight. Going out as a team makes it more feasible to carry a tent, that allows more room. All in all, I am very satisfied with this setup and am likely to purchase my own winter sleeping bag (lower limit at -6ish °C), to be able to venture outside year-round.
Do you have any questions? What kind of winter sleeping bag do you recommend?
 #wokeuplikethis
* Inlet (150) Sleeping bags (1000+490), Pad (350), Bivouac sac (650)


3 Responses